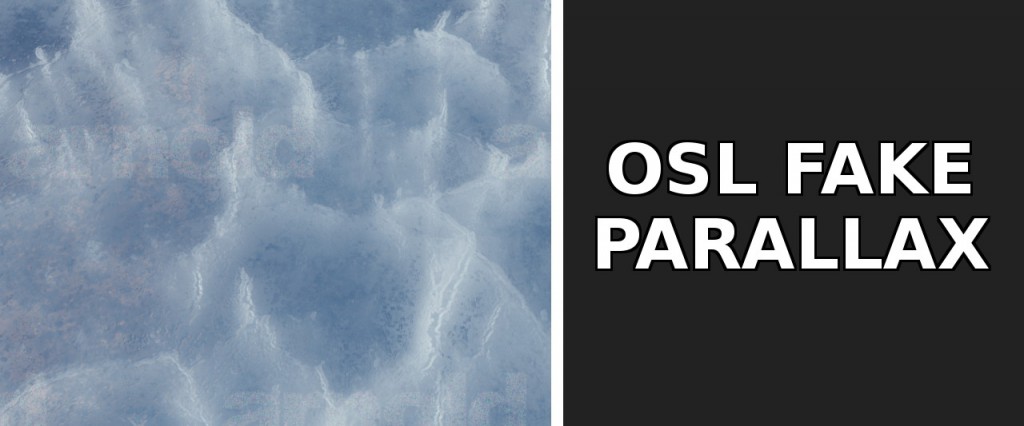
Sometimes getting complex refactive behavior through surfaces can be a tricky challenge. If you’re trying to recreate something like cracks inside of ice it can be a challenge to get this behavior as it can involve a lot of iterations in on the internal geometry and shader adjustments. Often it will also take a long while to render if you’re doing actual refractions. If you need something simpler tough there are ways to do that in the shader directly
I got the initial idea for this from Ben Cloward’s ice shader test in Unreal. It’s a very smart approach in which you get the appearance of the surface texture extending into the volume of the geometry that you are applying the shader to. Given this approach I wrote an OSL shader that does the same thing. I mainly created it for the purpose of shading ice-like internal structures but it can potentially be extended for other use cases as well.
You can supply a texture file into the filename parameter. The texture will be applied to the surface UV’s with periodic tiling. With the default values it creates a duplicate of the supplied texture “inside” the objects that the shader is applied to at the specified depth. The invert_depth parameter will drastically change the look. Depending on the source texture you are using it can give the appearance of occluded cracks vs a “see through” repetition of the surface texture. A roughness parameter is also available which you can use to simulate the texture getting more murky the deeper it goes “into” the object. This is not a physical parameter but just a simple texture blur. If you want a smoother appearance of continuous streaks as the texture goes into the surface you can increase the number of steps. This can simulate continuous from the surface down to the specified depth. Keep in mind that this is the number of texture calls, so having high values here can potentially make it quite slow.
Unfortunately this time it won’t work with Blender as I couldn’t find a proper way to get the derivatives & UV’s to work as expected :( If anyone has the time to look into it please feel free to do so!
As always having a visual demo is probably a good idea, so here it comes:
OSL Fake Parallax Shader from Julius Ihle on Vimeo.
You can download it from HERE.
_________________________________________________
If this post has helped you in any way you can express your gratefulness by using the Donate Button below to buy me a coffee! :)


Comments
Hey Julius!
Awesome script!
Do you have any idea how to make osl to be able to sample incoming color/texture input as an input, and not texture?
I tried to look into it, and as far as I can tell your solution basically changes the UV coordantes where you sample the saved out texture file. But is it possible to change the functionality to read a color input, look up the modified UV locations on the input?
This would make it more easier to feed in “in shader” modified textures and maps.
I tried to look it up in the OSL documentation, but I could’nt figure out a solution, how to look up “not the actively shaded color input pixel” in OSL.
Hey, thanks for the kind words!
In fact I was pondering with exactly the same question when I initially wrote the shader… Unfortunately I couldn’t find a proper solution, as I couldn’t find a solution either to modify the mapping of incoming color inputs. I’m not sure if it’s possible in OSL at all. I understand it limits flexibility a bit but it’s the best I could come up with for now… Maybe some day later I will revisit it. :)
Sorry also for the very late reply, I unfortunately had some issues with spam on my site and some comments got lost.
Best,
Julius
Hello Julius,
As always awesome stuff. I actually tested the osl on a character and got some insanely interesting results.
I just wanted know if we could make it work on udim ? I modified the code but I could not get more than 10 udims to be loaded. And when we changed the colorspace in the code, it works but only for a single texture.
And one question, I am not sure but is it slow to load on the farm? Tractor is like waiting one hour to start the render.
Thanks anyway just some questions to see how far we can push it.
Take care.
Andre