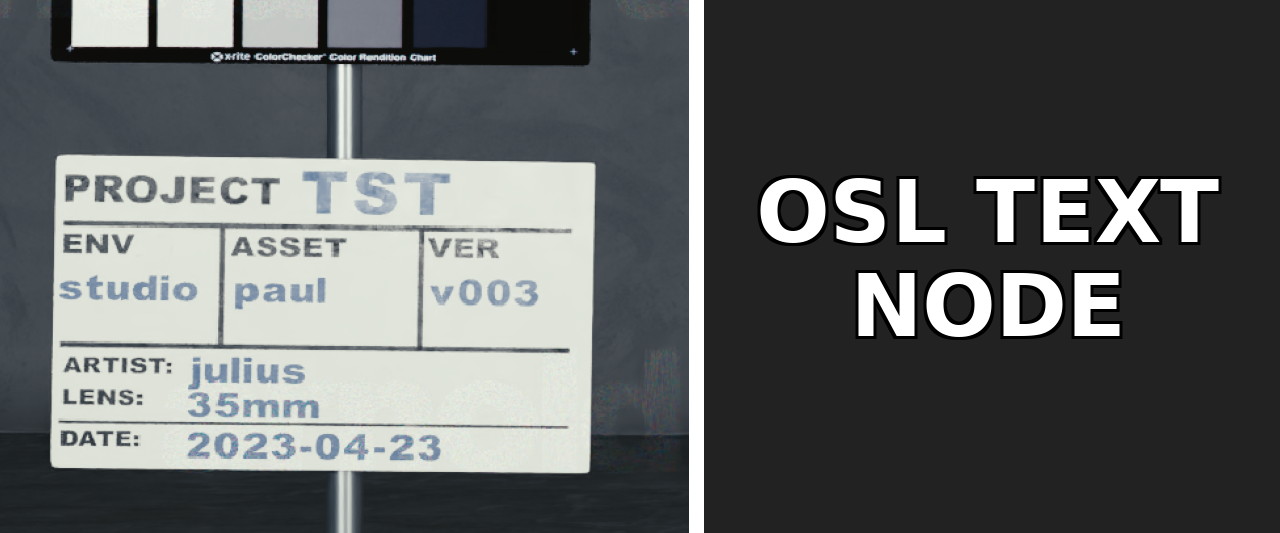
Having text live in your shaders can be a great way to add decals, burn-ins, etc. to your renders. I’ve gone on a bit of an adventure to implement an OSL shader which can be used to display arbitrary text right in your shader.
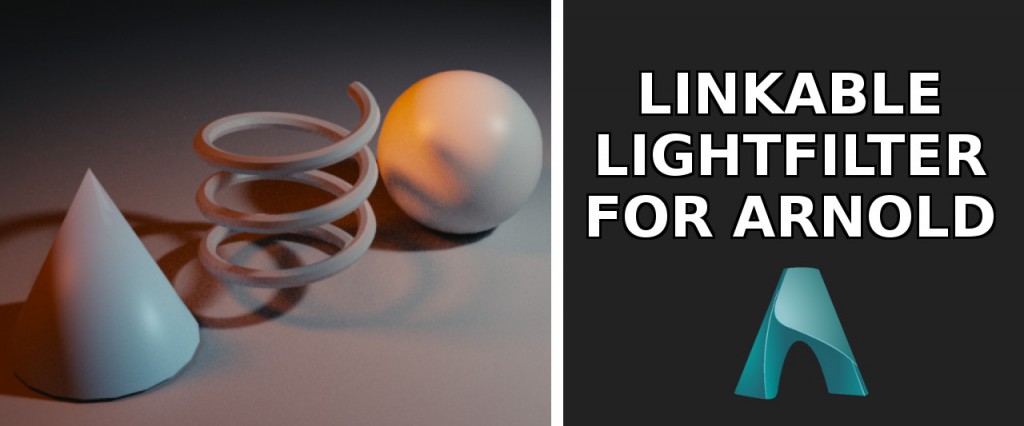
A very artist-friendly and powerful feature of RenderMan is the ability to light-link light filters to specific objects. In certain scenarios this can become quite useful to make detailed tweaks. In Arnold this is unfortunately not possible to my knowledge, but luckily there are ways to do something similar…
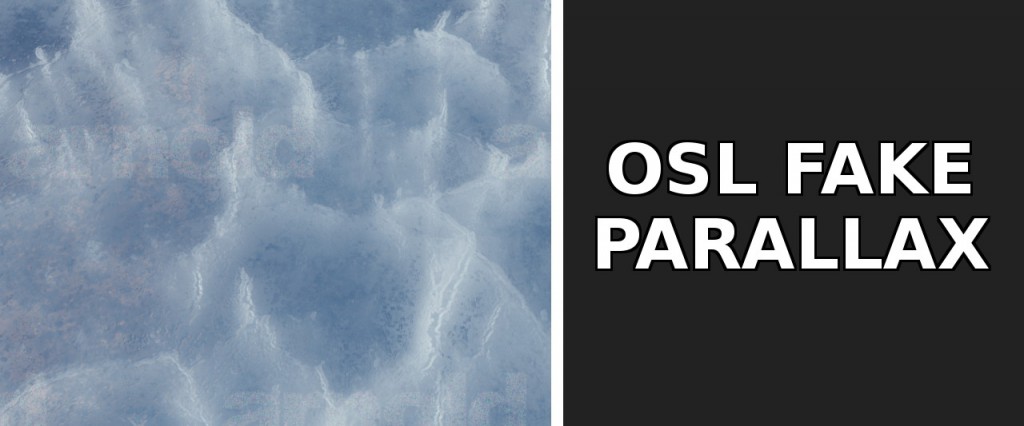
Sometimes getting complex refactive behavior through surfaces can be a tricky challenge. If you’re trying to recreate something like cracks inside of ice it can be a challenge to get this behavior as it can involve a lot of iterations in on the internal geometry and shader adjustments. Often it will also take a long while to render if you’re doing actual refractions. If you need something simpler tough there are ways to do that in the shader directly
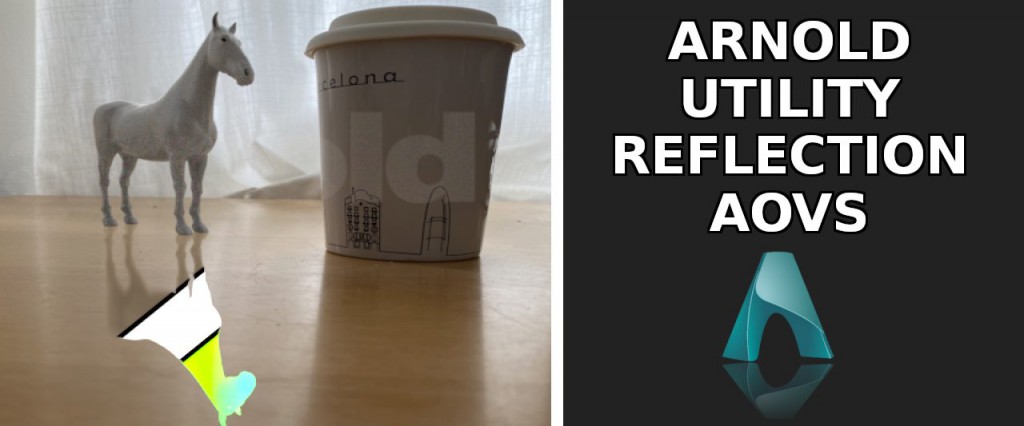
When trying to integrate CG renders into real life footage one common hurdle is to treat reflections properly. Often times in your plate you will have elements that have bright reflections (eg windows, plastic chairs, shiny tables, etc) in which your CG elements need to reflect. Rendering a simple reflection pass however often times does not really cut it
It’s been a while… Busy days :)
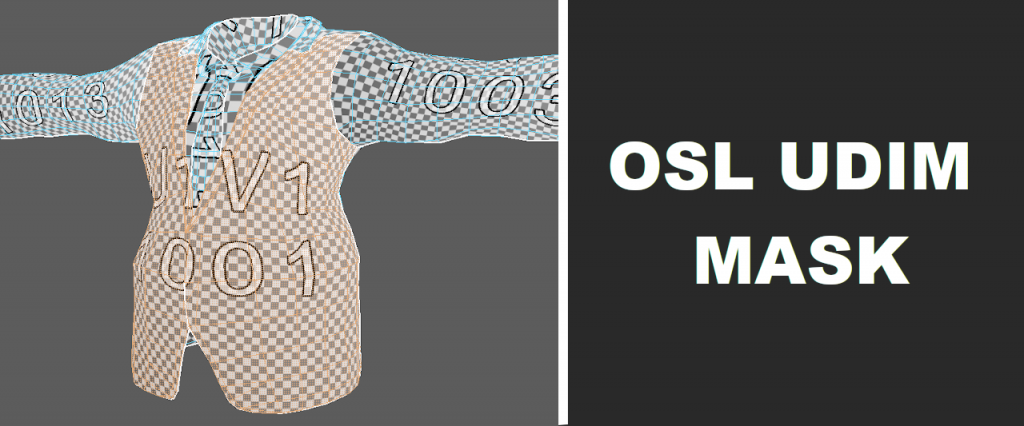
Occasionally there might be the need for LookDev Artists to adjust areas of a shader based on different UDIMs. If an asset has a continuous mesh that is only separated by UDIMs (eg nails on a character or decorative parts of clothing) it can be useful to create masks for specific UDIMs in the shading network to isolate areas of interest.
One of the things I found myself having to do more and more recently was creating contactsheets. This is mainly to keep an overview for myself over all the shots in every sequence for example. It usually saves me a lot of time, especially at the beginning of a show when I wasn’t neccesserely familiar yet with all the shots we had to work on.
Creating the contactsheets themselves however proved to be rather tedious as my workflow consisted of doing it all in Nuke. Adding, shuffling or annotating shots wasn’t really easy without some serious Python trickery. Luckily I found a great alternative.
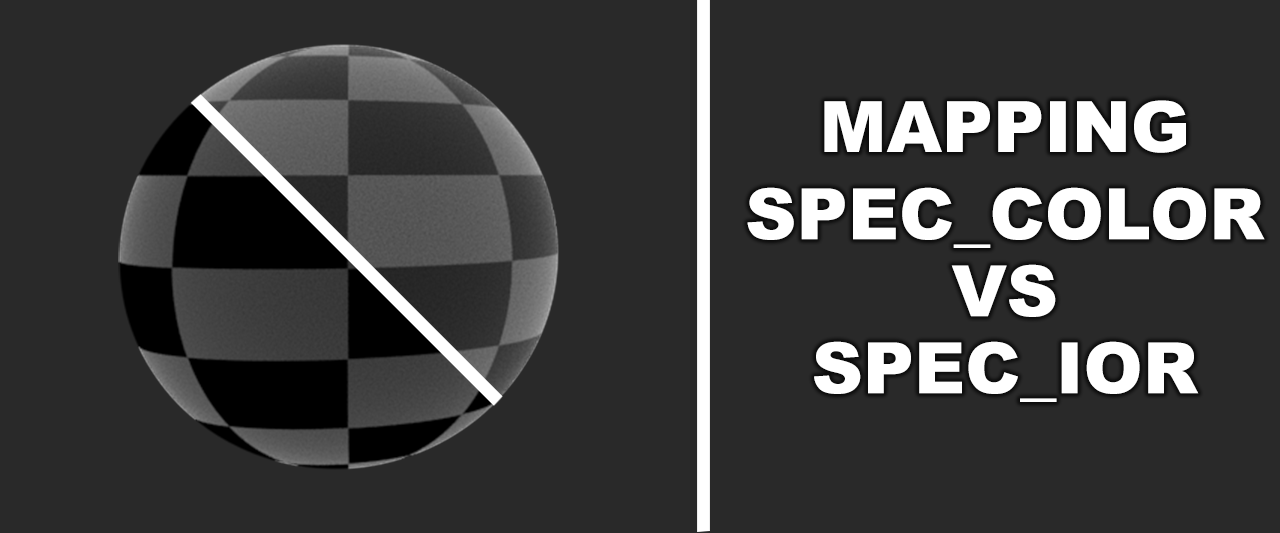
Getting Reflections and Speculars to look right is one of the most essential parts to creating realistic-looking CGI. At the same time it is also one of the hardest things to get right. This is just a personal opinion on how I think varying specular behavior across a surface can be handled nicer than using traditional ways.
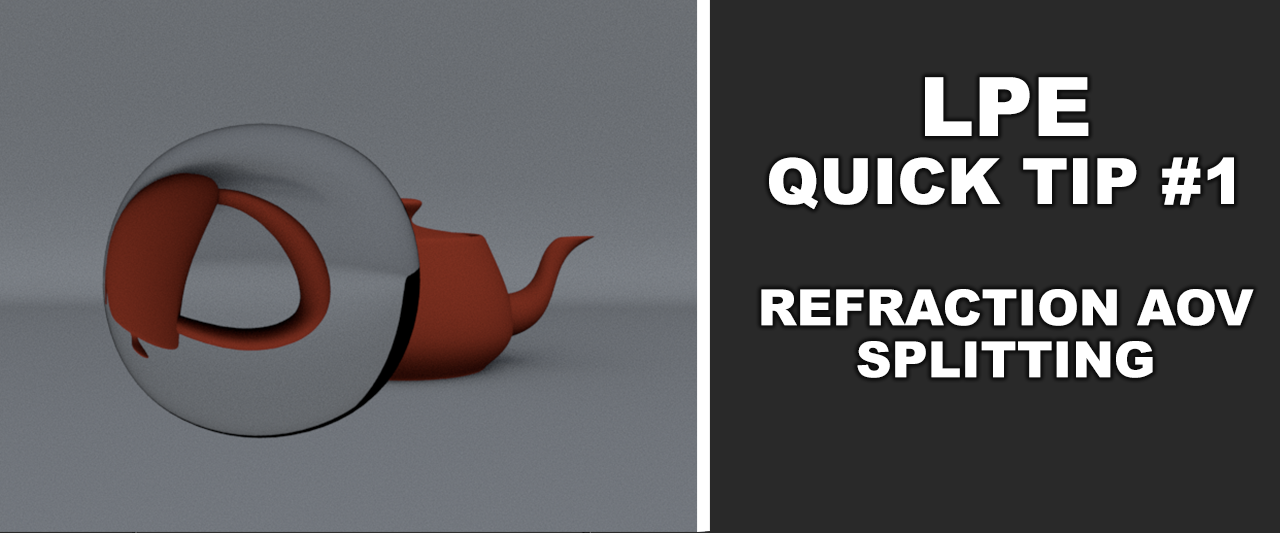
This will be a quick one. Light Path Expressions offer a lot of flexibility over the AOV’s you would like to pass off to Compositing. Most modern path tracing render engines like Arnold, RenderMan, Blender’s Cycles, VRay, etc. have support for it by now. With LPE’s you can split pretty much any light path you desire, which brings me to the solution to this first problem.
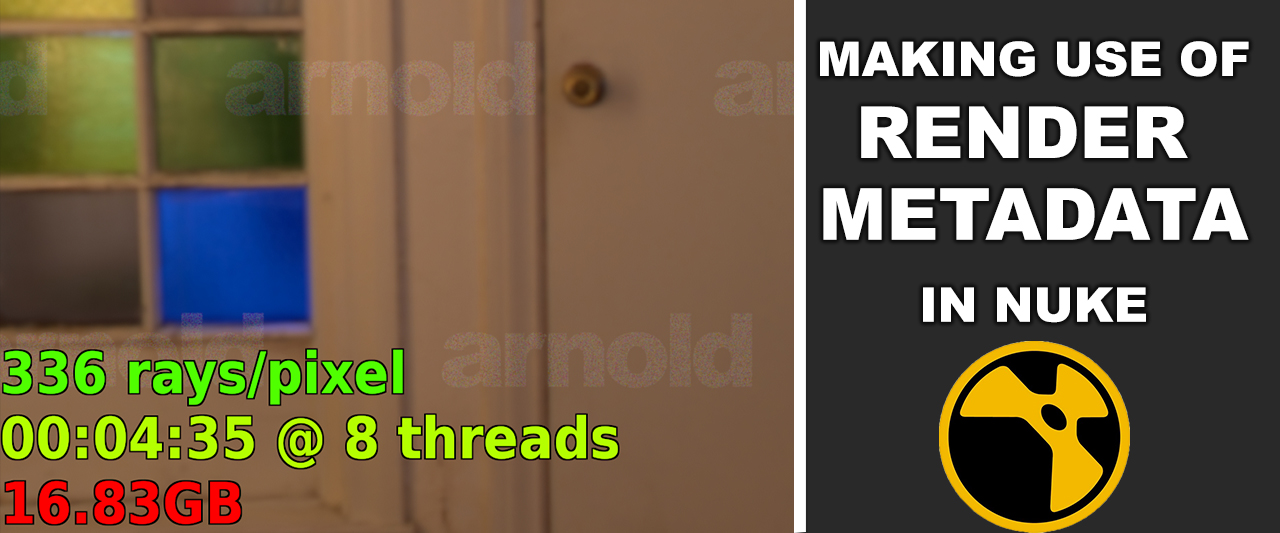
Nuke makes it really easy to access metadata from incoming images. You can easily access information from pictures that you shot with your camera or access render stats from CG renderings. This can prove to be really useful in a production environment where you want to make sure that your frames are rendering in a reasonable time without consuming too much memory. This example shows how to access and display that information in Nuke with renderings from Arnold.
