
One of the things I found myself having to do more and more recently was creating contactsheets. This is mainly to keep an overview for myself over all the shots in every sequence for example. It usually saves me a lot of time, especially at the beginning of a show when I wasn’t neccesserely familiar yet with all the shots we had to work on.
Creating the contactsheets themselves however proved to be rather tedious as my workflow consisted of doing it all in Nuke. Adding, shuffling or annotating shots wasn’t really easy without some serious Python trickery. Luckily I found a great alternative.
So what’s the fancy title all about? The tool that I’m going to be using is an open source command line image-editing utility called Image Magick. The beauty of it is that it can be used to batch-process a ton of images. It can seem quite overwhelming at first as it ships with a lot of utilities and options but this is what also makes it so powerful. A lot details and examples can be found in the v6 documentation HERE.
I should preface this write-up by saying that I only touched the tip of the iceberg and am still discovering new things day by day.
What I did know was the main purpose I wanted to use it for: Stitching thumbnails of all relevant shots from our database so that I would have a one-stop quick overview for the shots. Alongside this I wanted to have the following information displayed for each shot:
-annotate each thumbnail with the shotname
-show some info from the database about the status from relevant departments
-annotate each thumbnail with assigned artist
Goal is set, so here’s a quick rundown on my humble tests. I have been using the following 3 utilities that ship with ImageMagick:
convert
montage
identify
convert is pretty straight forward. It’s main purpose is to do all sort of image manipulation. Transforms, filters, color corrections, annotations – you name it.
montage is very useful for stitching multiple images together to create a collage.
identify is a useful tool for getting information about an image such as resolution, color space, etc.
I set up a testproject with some thumbnails based on a sort-of famous movie… I made up sequence- and shot names. Alltogether I have 7 sequences, each with a couple of shots inside them. The directory structure is split up so we have $PROJ/$SEQ/$SHOT/thumbnail.png:
.
├── testproj
│ ├── FS
│ │ ├── 0310
│ │ │ ├── test.png
│ │ │ └── thumbnail.png
│ │ ├── 0320
│ │ │ └── thumbnail.png
│ │ ├── 0330
│ │ │ └── thumbnail.png
│ │ ├── 0360
│ │ │ └── thumbnail.png
│ │ ├── 0370
│ │ │ └── thumbnail.png
│ │ └── 0390
│ │ └── thumbnail.png
│ ├── GR
│ │ ├── 0040
│ │ │ └── thumbnail.png
│ │ ├── 0050
│ │ │ └── thumbnail.png
│ │ ├── 0060
│ │ │ └── thumbnail.png
│ │ ├── 0070
│ │ │ └── thumbnail.png
etc…
The general syntax for using the image magick tools is
magick tool inputImage [-options] outputImage
example:
This will shrink the input image thumbnail.png by 50% and save the output as test.jpg. Easy enough…
(Note that the magick prefix has only been introduced from ImageMagick v7 onwards.)
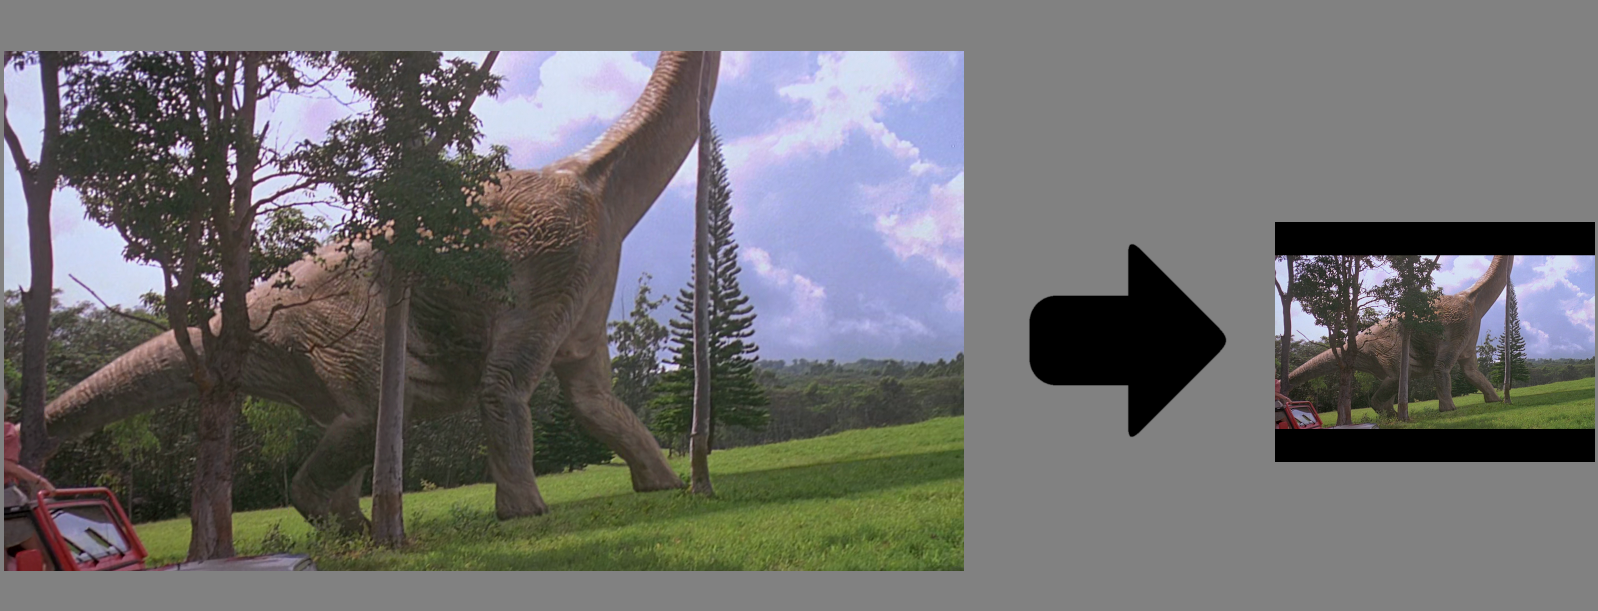
However my thumbnails are not really thumbnails at the moment. They are massive as they are just screenshots from the BluRay. I want to resize them down from their original size of 1920×1040 to 640×480. 640×480 is a different aspect ratio however and the default for resizing an image using convert is to resize the image to the specified width and keep the aspect ratio from the original image. I could use -extent in the following way to force the output resolution:
This will resize the original image to 640×347 (due to the different aspect ratio), extend the resolution to 640×480 afterwards and fill the empty areas with black while keeping the image centered.
There are multiple ways to add text to an image. You can use -draw to place text exactly where you want. Preceding options can define the style and positioning of the text. This example will create white text saying ‘test’, outlined with black and a size of 250 in the center of the image:

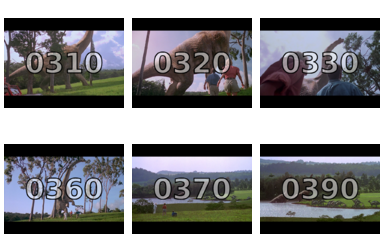
ImageMagick’s main benefit lies in batch processing a multitude of images. I could shrink all my images and annotate them with the shot name in the same way as outlined above (in this case using bash):
This way I have a small annotated version of each thumbnail inside a newly created seqSheets folder as well:
.
├── seqSheets
│ ├── FS
│ │ ├── 0310.png
│ │ ├── 0320.png
│ │ ├── 0330.png
│ │ ├── 0360.png
│ │ ├── 0370.png
│ │ └── 0390.png
│ ├── GR
│ │ ├── 0040.png
│ │ ├── 0050.png
│ │ ├── 0060.png
│ │ ├── 0070.png
Now that I have each shot annotated with its name I can use montage to stack them on top of each other. I would like to do that in a specific way tough. Preferably I would like my contact sheet to be aligned at the top so I have the sequence names in one row and the shots for each sequence stacked beneath them:
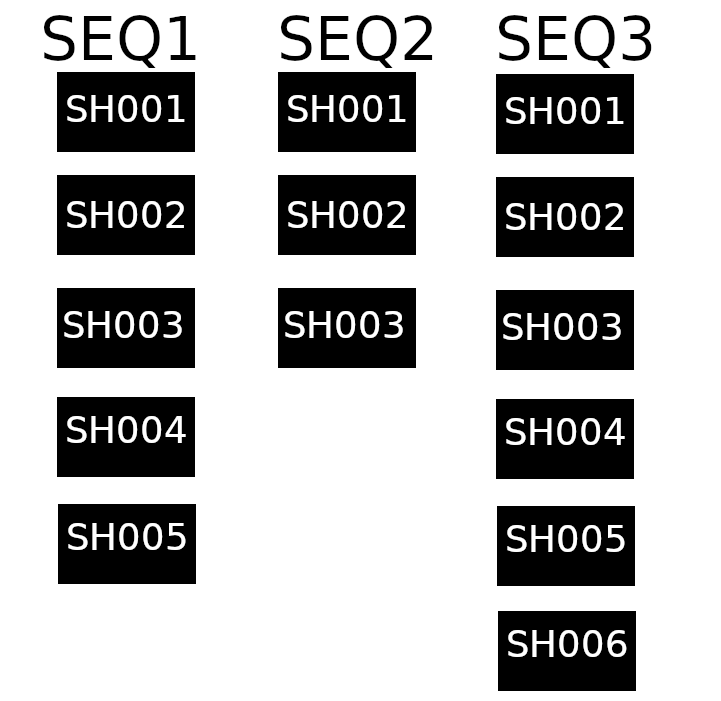
montage is a great utility for aligning images as it features a lot of options. To be able to easily update things on a per-sequence level I decided to do an individual sheet per sequence first.
If montage is not being given any options it will try to align images in a more-or-less smart manner itself:
There are a number of ways how you can set your alignment in montage. You can use the -tile AxB option to define how many rows and column your montage should have (where A are the columns and B the rows). As with a lot of options on the ImageMagick toolset it’s possible to leave out either rows or columns and montage will just force one column for example independent of how many images you have.

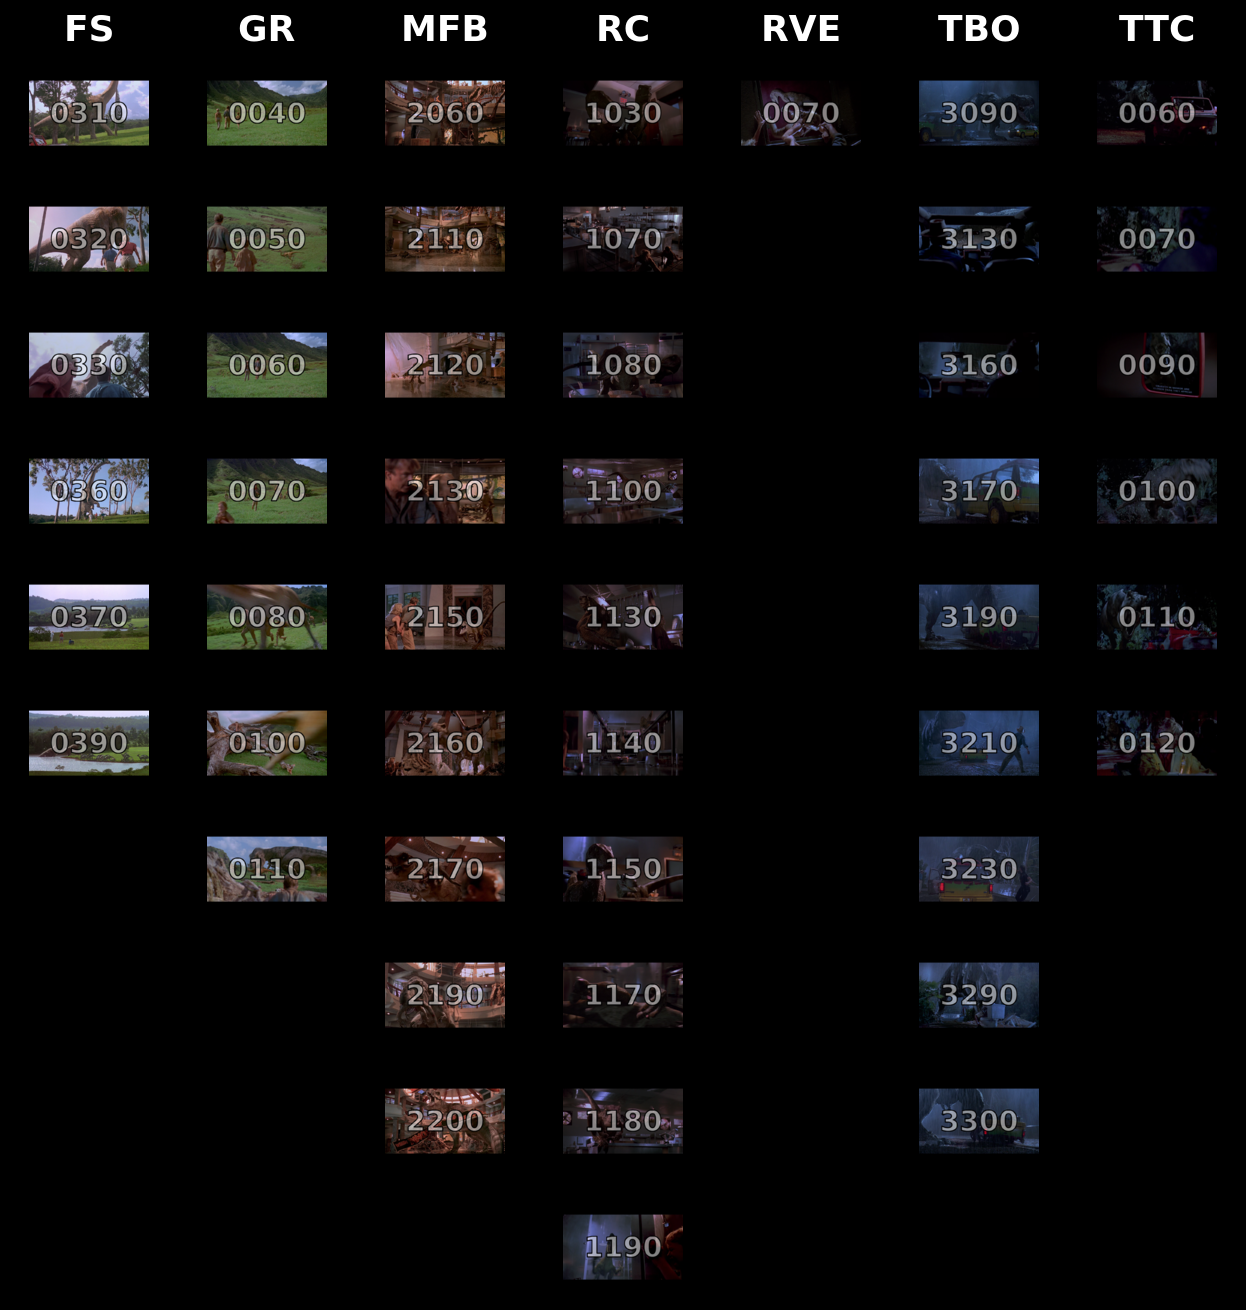
My goal is to put all the individual sequence sheets next to each other afterwards. For this to be more straight forward I want to force each sequence sheet to have the same number of rows. I will therefore just grab the sequence with the most number of shots and set every sheet to have this number of rows:
The resulting sheets will consequently all have the same dimensions so stitching them together afterwards will be pretty easy:


I will use convert this time instead of montage to simply append all of the images together. Reason being is that it will just keep the input formats and it’s a bit easier to control spacing using the -border option. +append stacks the images horizontally, -append would stack them vertically:
Taking this further one could grab additional information from the project database. If there’s a way to access it via a Python API for example one could annotate each shot with their respective department status, assigned user, etc. This way it can provide lot’s of very useful information at a glance. I just made up something here but I hope it shows the point:

_________________________________________________
If this post has helped you in any way you can express your gratefulness by using the Donate Button below to buy me a coffee! :)


Comments