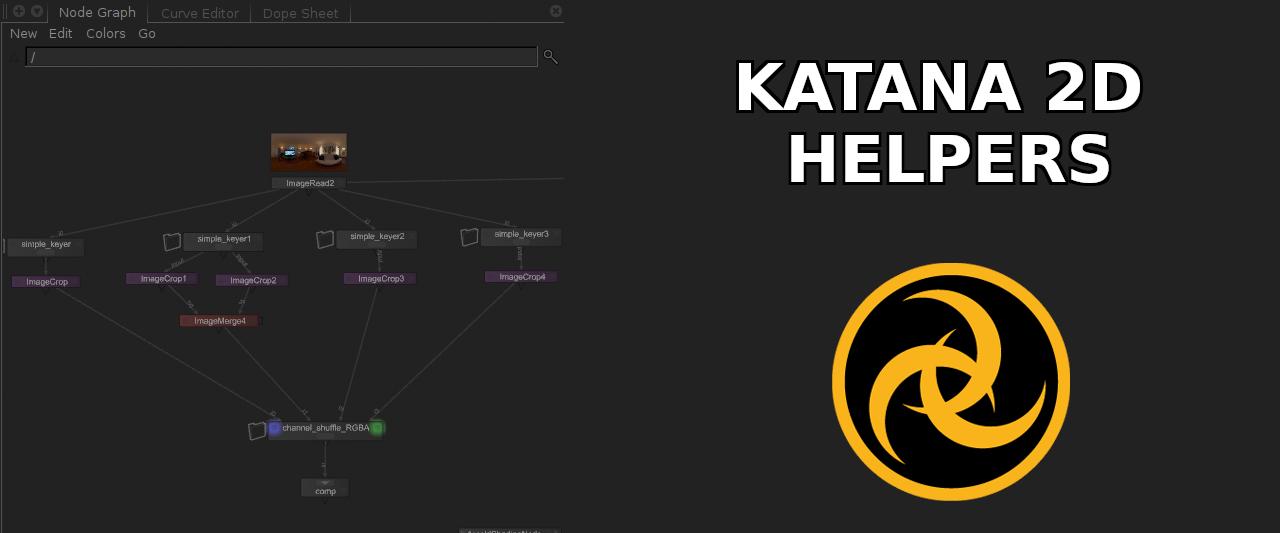
One of the great things about Katana is the ability to have a simple compositor right within your lighting/lookdev environment. I have been using its 2D features more or less extensively throughout the last couple of projects. It’s quite handy to tweak your HDR that you’re using right before you plug it into an environment light, without the need to go into Nuke again if you’re doing just smaller tweaks. Unfortunately Katana’s 2D interface lacks quite a few things that would make it a valueable alternative to Nuke for preparation tasks, because you have to wire more things together. So I was working on a few ‘gizmos’ to make the process a bit less cumbersome.
When I’m doing lookdev I usually try a lot of different environments to test my shading in. Now it could be that you would want to rotate each HDR slightly differently because maybe the main lightsource should come from a different direction. As rotating the envlight everytime you test a new HDR isn’t non-destructive at all I built a simple group that imitates Photoshop’s offset feature:
The maximum offset distance is defined by the image width/height. So if the input image has a width of 2048 pixels you cannot offset it more than +/-2048 pixels in x.
Also in case one decides to go for an environment-only lighting workflow you still want to have a good control over the individual lights in your HDR. This workflow gives you less control, as you cannot move individual lights around, but is much quicker to set up. When going this route it helps if you can still tweak the intensity of the individual lights within the HDR and maybe slightly adjust their color. So I mashed together a very simple group that emulates Nuke’s default Keyer-Node. It outputs the resulting key into the alpha while leaving RGB untouched. Controls should be self-explanatory.
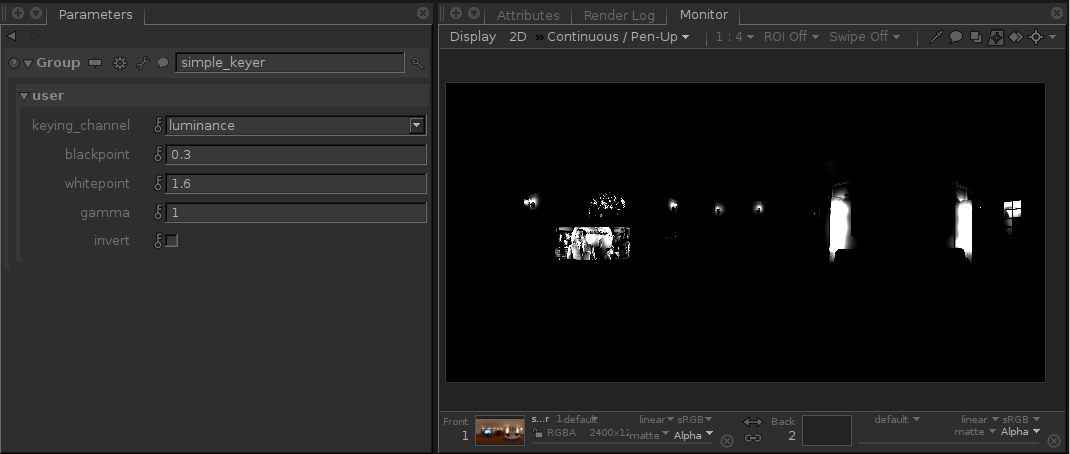
Now this might work for some cases. As the name implies, it’s just a simple keyer however. Here’s another example HDR:
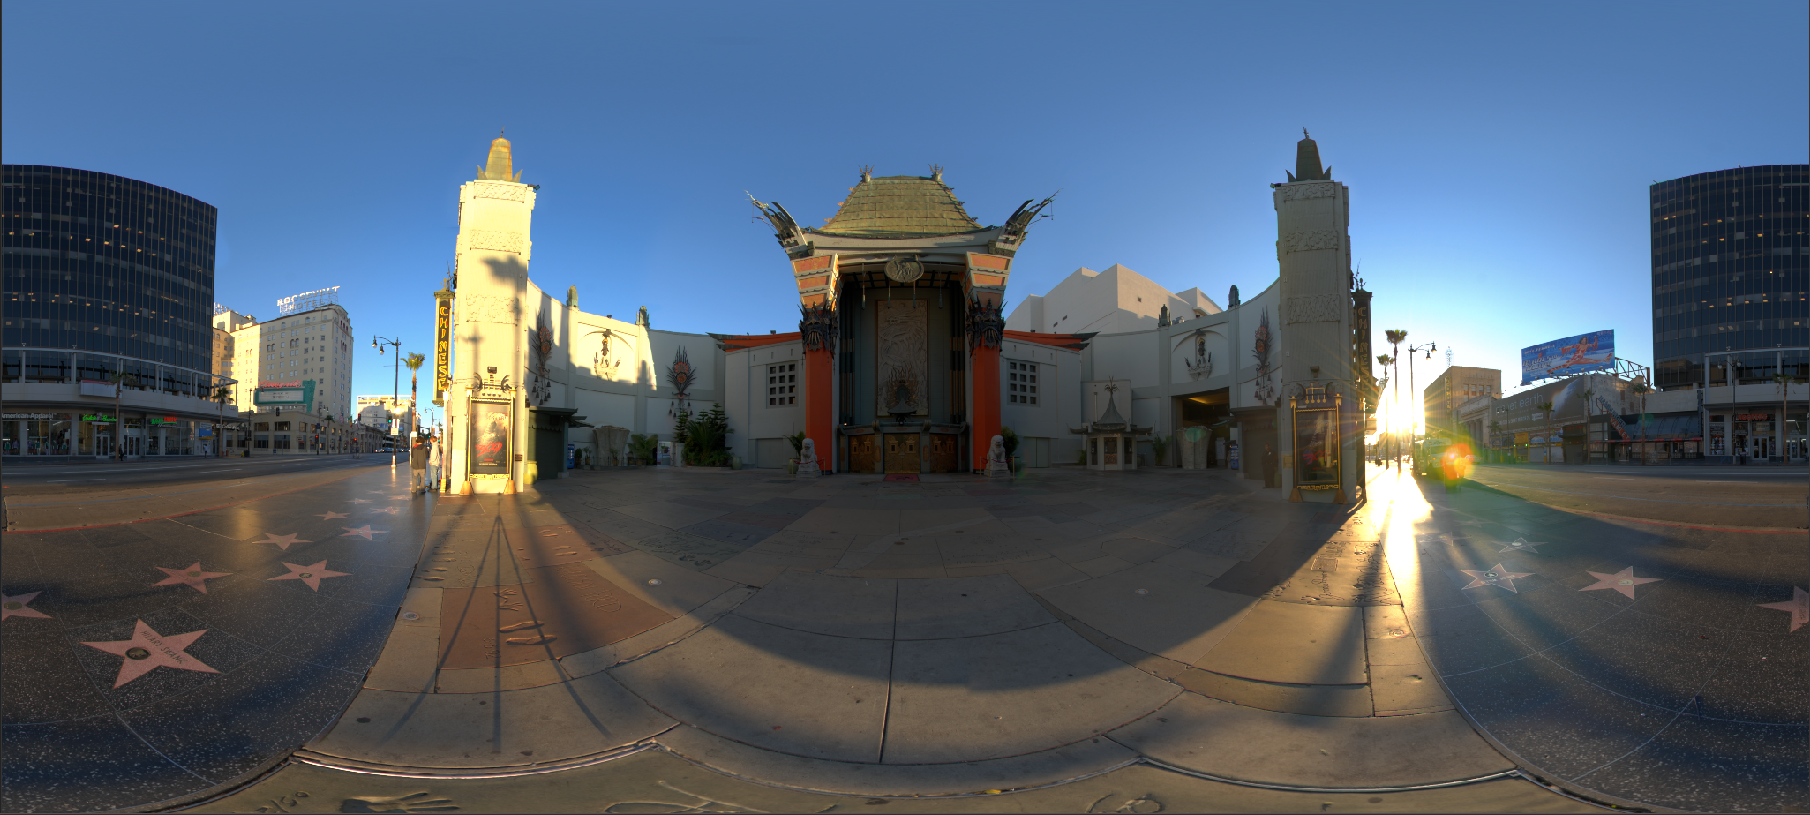
Let’s say one would like to grade the sky, because we are a bit picky about the blue shade of it :) If you were to try to use the simple keyer you would not be able to properly isolate just the sky because the sun and the bright screen-left building also have very high values in the blue channel. So I created a slightly more sophisticated keyer for those kind of purposes:

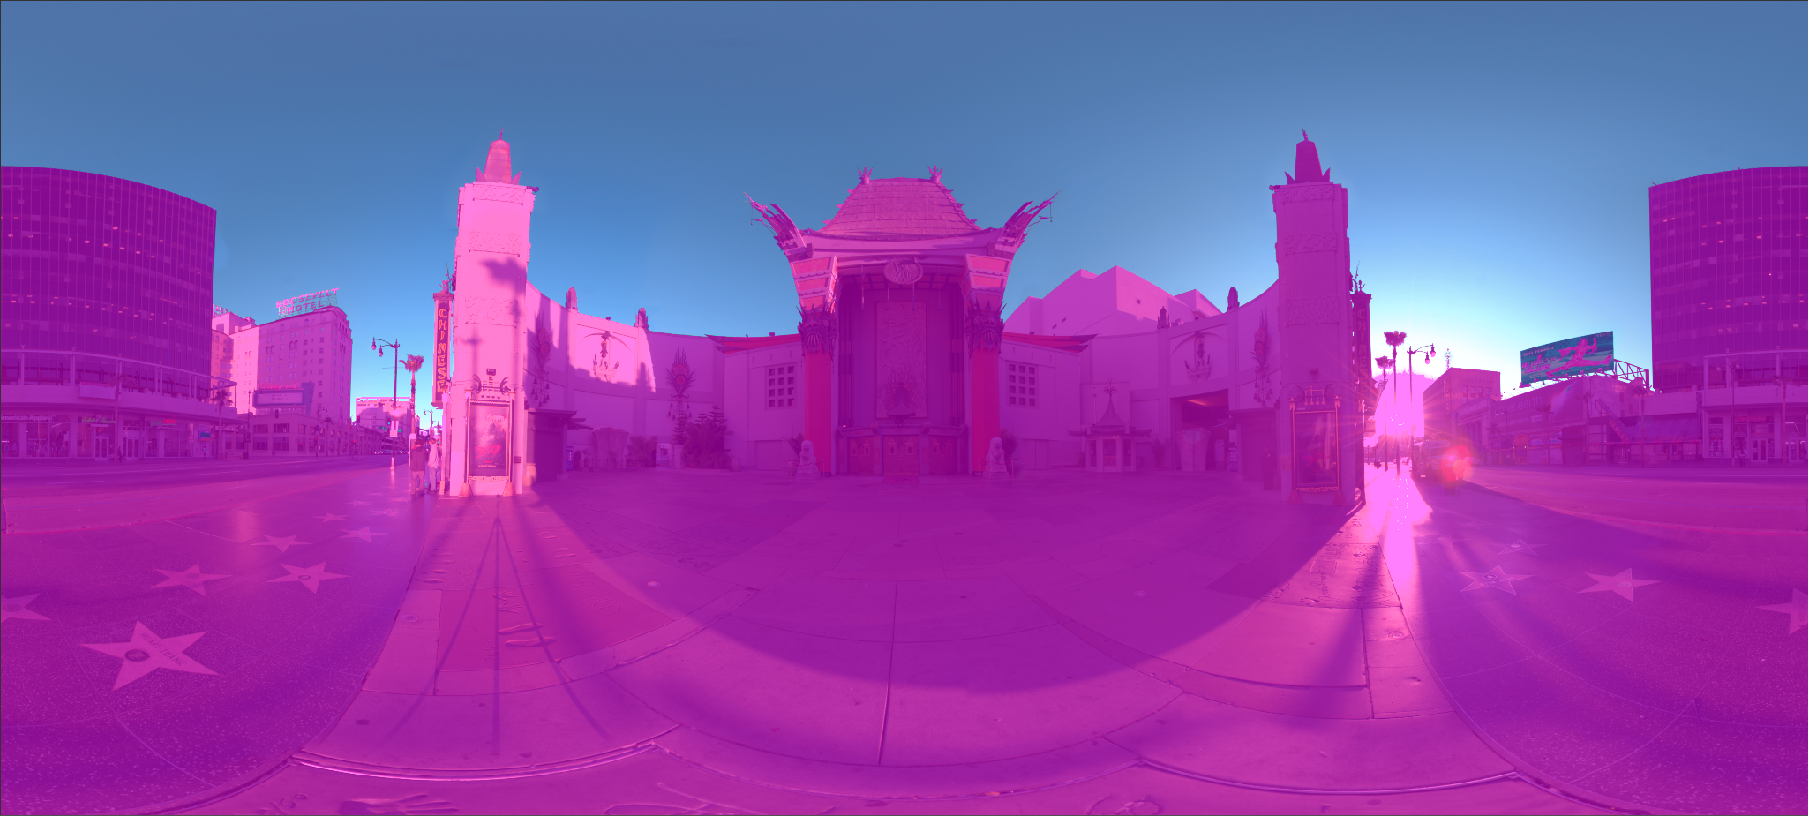
Hm, interface-wise it looks pretty much the same like the other keyer… What’s so fancy about it? This one does not work on one channel at a time, but instead looks at the difference between channels. If you were to set it to blue, like in this example, it will basically just isolate the areas in which the blue channel has higher values than the average of red and green. Apart from that it also features the option to pull a saturation key, pretty much identical to Nuke (Colorspace RGB->HSV or Keyer set to “saturation”), except for the fact that it works in linear space, instead of sRGB.
Here’s an example matte overlay when isolating a matte with this Keyer – as you can see the sky is quite well isolated and does not include the sun or other bright bits of the image:
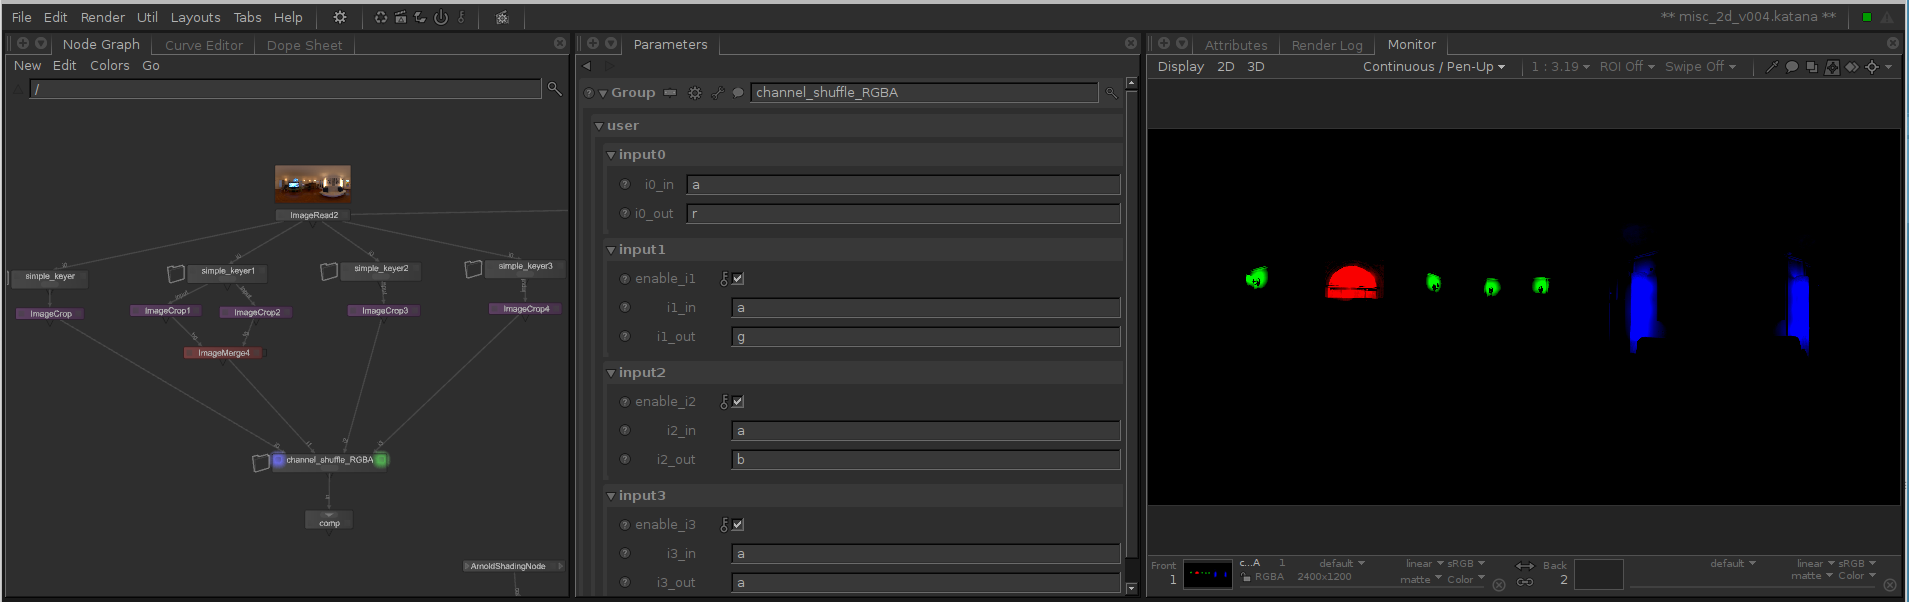
So without having to wire up a whole lot of stuff one can get masks comparatively quick. What I personally like to do is having one base image that I can use for mask inputs. I just wire my mattes for the individual lights together so that I have the different lights isolated in R,G,B and A. So after I have my keys I can crop out the areas I want and recombine them using my “channel_shuffle” group. Controls are quite simple. One has to specify which channel they want to use as an input and into which channel the input should output to (similar to Nuke’s shuffle node… with a less pretty interface :) ). That way you can quickly get one RGBA matte using crops to isolate the different keys:
Then it’s just a matter of using them on a gain-node for example to tweak the exposure of the individual lights.
Example file is HERE to play with.
Comments